Hosted Invoice Financing Widget
This page describes how to implement the hosted invoice financing drop-in widget
The hosted invoice financing drop-in widget is a JavaScript library that allows you to seamlessly allow your used to access a hosted invoice financing session via a modal element into your client-side application. This modal displays the hosted invoice financing user interface whenever a user clicks on a designated invoice financing application button.
Key features include:
- Opening the hosted invoice financing session in a modal / dialog within your application (without redirect) providing a seamless experience
- Ability to show the hosted invoice financing session in modal or open a new tab.
Installation
To embed the invoice financing widget on your webpage, include the following script in the <head> section of your HTML page. This script will load the necessary resources for the widget.
<script src="https://js.stenn.com/v1/invoice-financing-widget.js" defer></script>
Usage
To initiate an invoice financing session with a wizard within a modal, follow these steps:
1. Configure Widget Options
Define the options for your widget. You can specify whether the widget should open in a modal or a new tab. Additionally, you can provide callback functions to handle success and cancellation events.
const widgetOptions = {
  type: "modal", // Or "tab" for opening in a new tab
  successCallback: (data) => {
    console.log("Success:", data);
  },
  cancelCallback: (data) => {
    console.log("Cancel:", data);
  }
};
2. Create Widget Instance
Create an instance of the widget using the options defined above.
const myWidget = new window.__STENN_WIDGET__.Widget(widgetOptions);
3. Request financing session URL
Before opening the widget, make a POST request to your backend endpoint that will in turn make a request to the Stenn API to create a financing session to obtain the financing session URL. You can use the fetch API or any other method to make this request. The request should include an identifier (e.g. invoice_id) that your backend application can use to request a financing session from the Stenn API.
You should never make a request to any Stenn API endpoints directly from your front-end due to the risk of exposing API keys and credentials to malicious users. All requests to Stenn API endpoints should be made from your backend.
async function getFinancingSessionUrl() {
  const response = await fetch('https://your-backend-api.com/financing-session', {
    method: 'POST',
    headers: {
      'Content-Type': 'application/json'
    },
    body: JSON.stringify({
      // Add any necessary data here (e.g. invoice_id)
    })
  });
  const data = await response.json();
  return data.financingSessionUrl; // Adjust this based on your API response structure
}
4. Open the Widget
Use the open method to launch the widget in a modal window or a new tab. Use the financing session URL obtained from the previous step.
document.getElementById('applyInvoiceFinancingButton').addEventListener('click', async () => {
  const financingSessionUrl = await getFinancingSessionUrl();
  myWidget.open(financingSessionUrl);
});
Example
Here is a complete example of how to install and use the widget:
<!DOCTYPE html>
<html lang="en">
<head>
  <meta charset="UTF-8">
  <meta name="viewport" content="width=device-width, initial-scale=1.0">
  <title>Invoice Financing for Invoice #91829</title>
  <script src="https://js.stenn.com/v1/invoice-financing-widget.js" defer></script>
</head>
<body>
  <button id="applyInvoiceFinancingButton">Apply Invoice Financing</button>

  <script>
    const widgetOptions = {
      type: "modal",
      successCallback: (data) => {
        console.log("Success:", data);
      },
      cancelCallback: (data) => {
        console.log("Cancel:", data);
      }
    };

    const myWidget = new window.__STENN_WIDGET__.Widget(widgetOptions);

    async function getFinancingSessionUrl() {
      const response = await fetch('https://your-backend-api.com/financing-session', {
        method: 'POST',
        headers: {
          'Content-Type': 'application/json'
        },
        body: JSON.stringify({
          // Add any necessary data here (e.g. invoice_id)
        })
      });
      const data = await response.json();
      return data.financingSessionUrl; // Adjust this based on your API response structure
    }

    document.getElementById('applyInvoiceFinancingButton').addEventListener('click', async () => {
      const financingSessionUrl = await getFinancingSessionUrl();
      myWidget.open(financingSessionUrl);
    });
  </script>
</body>
</html>
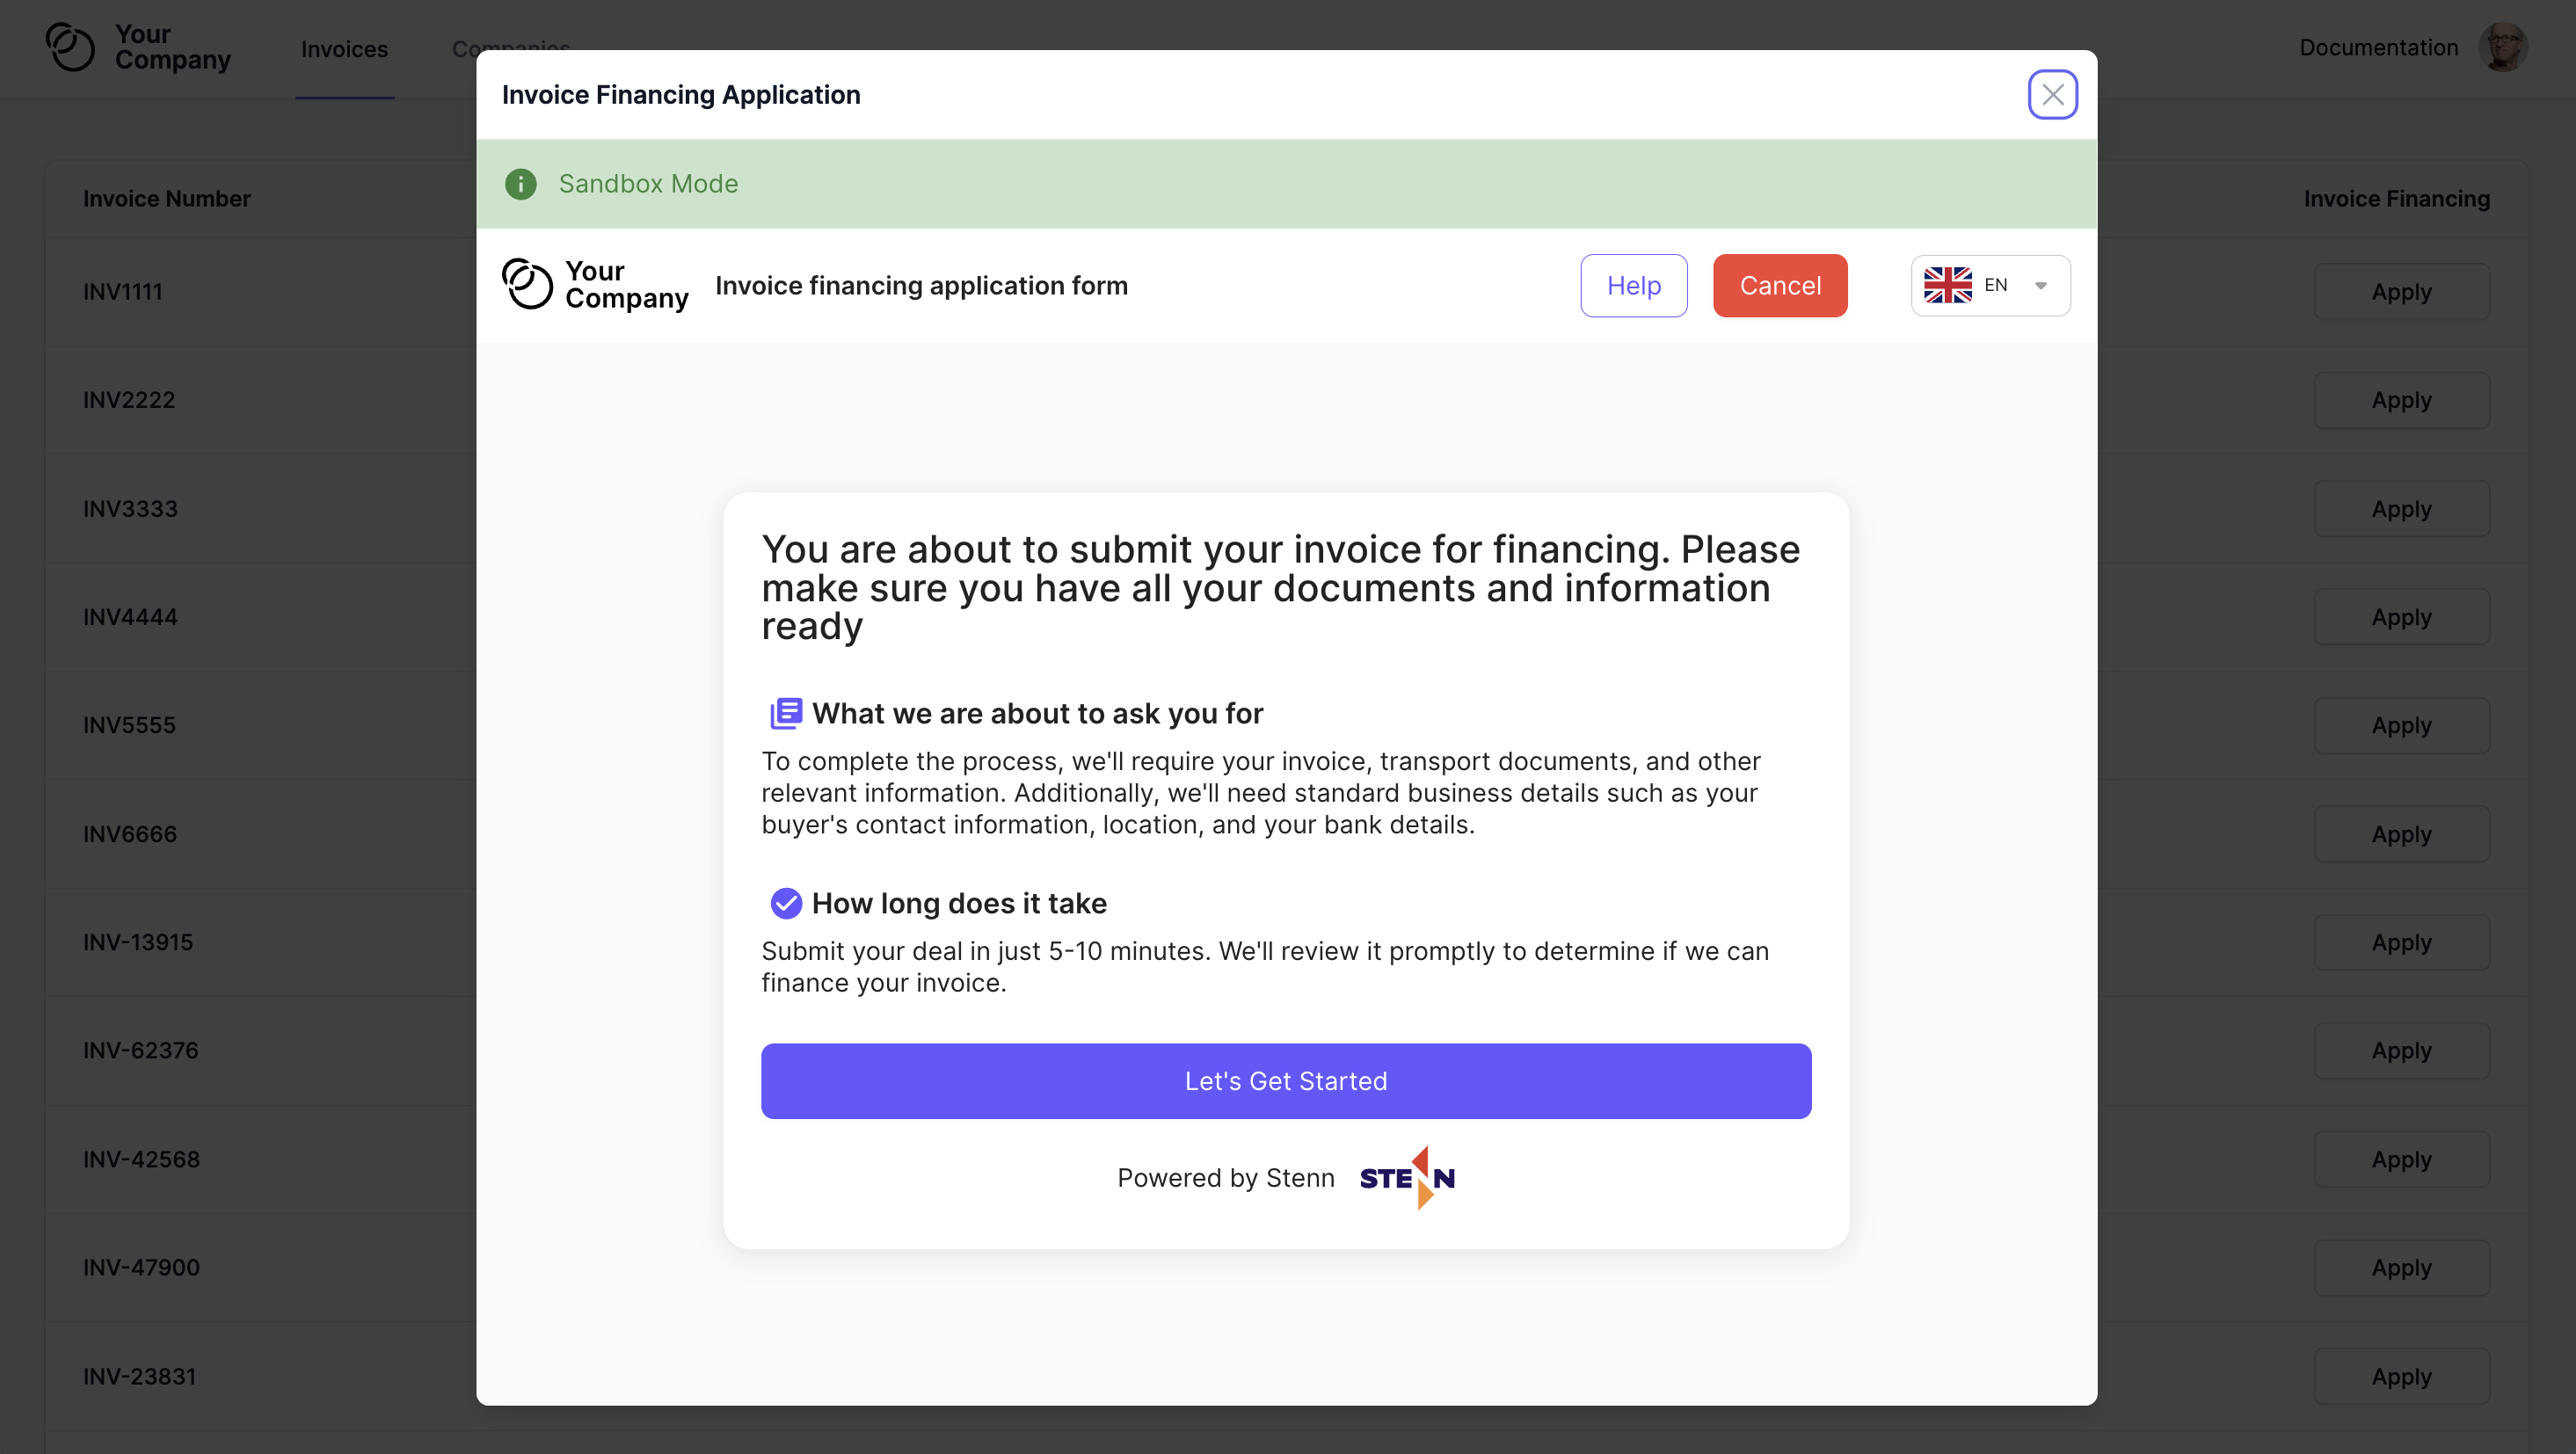
In this example, clicking the "Apply Invoice Financing" button will open the invoice financing widget in a modal. Below is an example of the hosted invoice financing widget for reference:
Updated about 2 years ago